When you hire a professional painter to transform your rooms for you, there’s not really any need to worry about the details involved with getting the job done. When you do it yourself, on the other hand, it pays off to do some research about the task ahead. Other than the essential decision about what color to use, two important steps which will add to your satisfaction with the outcome of the project are: (1) Using the correct paintbrushes and (2) Properly prepping the room.
Tips on Choosing a Quality Paintbrush
The type of paintbrush you use makes an enormous difference in how a painting project turns out. In fact, the paintbrush is arguably the most important tool when painting a room. If you care about the outcome of the job, you don’t want to grab just any paintbrush. A quality brush is a good investment, and you should settle for nothing less. The old saying that you get what you pay for definitely applies to paintbrushes.
There are a few basic guidelines for identifying whether a paintbrush is one of quality:
- The bristles of the paintbrush should be flagged or split on the ends. This feature serves several purposes; it:
- Ensures that the brush has the capacity to hold the paint well,
- Helps the paint to spread more evenly and smoothly, and
- Helps to minimize the number of brush marks left on the wall.
- The bristles should vary in length; this will help the brush to wear evenly. Bristles of every length should have split ends.
- Longer bristles are better than shorter ones of the same quality.
- The bristles should have a springy feel, snapping back into place when they’re bent.
- When pressed against a flat surface, the bristle tips should not fan out excessively.
- For trim work, use an angled sash brush. On paintbrushes other than angled brushes, the middle bristles should be longer than those on the outside.
- Natural hog bristles are the best quality, though new manufacturing processes have made some types of nylon brushes a close second. Natural bristles work best for oil-based paints. For latex or water-based paint use a high quality nylon, polyester, or synthetic brush.

Basic Tips for Prepping a Room for Painting
Different paint projects require different prepping steps. But here are a few basics that usually apply:
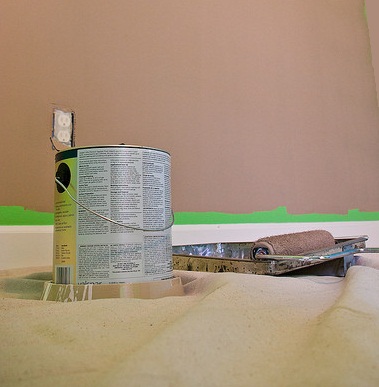
- If there’s furniture in the room, move it all to the center and cover it with drop clothes.
- Cover the floor with drop clothes.
- Remove curtains and the drapery hardware.
- Protect the light fixtures; loosen them and wrap them with plastic bags.
- Remove all of the wall plates from the light switches and electrical outlets. (If you are going to paint the wall plates, paint them after removing them from the wall.)
- Scrape any flawed areas, such as cracked or peeling paint.
- Use warm water and household detergent to clean the walls. For paint to properly adhere, it’s important to remove things which have settled on the paint surface, such as grease, airborne dirt, soot, and cigarette smoke.
A good paint job doesn’t happen by accident. If you want to create a room that you can enjoy for many years to come, it’s best to figure out all the secrets of professional painters that you can. Using a quality paintbrush and making proper preparations are like the tip of an iceberg. Interior painting is one of those things that people often wish they would have left to the professionals. But who doesn’t love a challenge?
Franklin Painting LLC – Call us Toll Free at 877-646-7774
or at our main office number 860-678-7701
2 Eastview Drive, Farmington, CT 06032

