How to Paint Ceilings Without Making Common Mistakes
An awareness of common mishaps can be helpful when seeking knowledge on how to paint ceilings. The task is obviously more challenging than painting walls, but you can produce good results with the right know-how, tools, and techniques. The following are among the most common mistakes made when do-it-yourselfers paint ceilings.
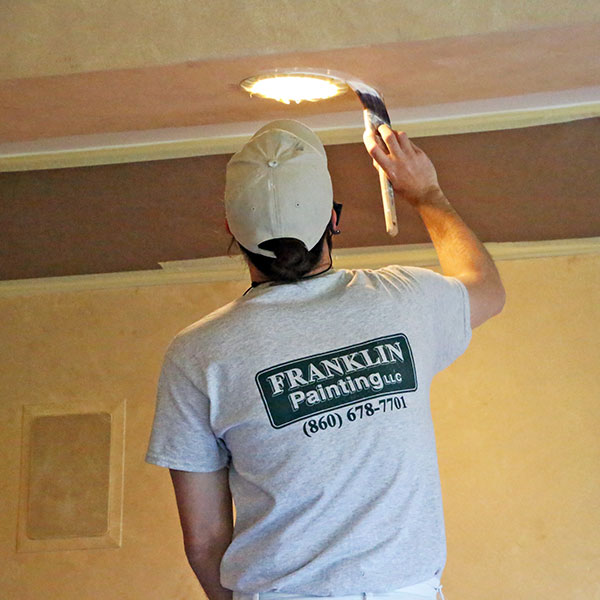
 Messy Edges
Painter’s tape is always an essential tool for interior painting projects, including painting ceilings. Achieving pristine edges requires straight-line application of the tape—a task that tends to be somewhat difficult when painting a ceiling. It is normal for DIY ceiling paint projects to include a need for touching up sloppy edges.
To fix sloppy edges, you will be applying tape along the area of the ceiling where you just painted. Paint with a color that matches the trim or wall color and use a detail brush. Apply the paint using thin coats to be doubly sure the paint doesn’t bleed underneath the tape. Allow the touch-up paint to dry for at least 8 hours. When you remove the tape, the paint edges should be crisp, straight, and clean.
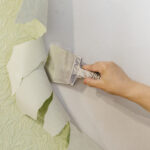
Bubbling Paint
A normal challenge associated with painting ceilings is that the paint will blister or bubble. The issue is a bonding problem between the existing ceiling and the new coating of paint. There are various causes, such as contaminants on the surface or moisture in the surface being painted. The bubbling could be obvious immediately or the bubbling may not show up until the next day. Sometimes, the blisters shrink and disappear as the paint dries.
Properly prepare the ceiling surface if you want to avoid having to deal with blistering paint. Prep may involve sealing stains caused by smoke, water, or chemicals. Dirt should always be removed from surfaces before painting. Applying primer is another way to prevent problems associated with the adhesion of fresh paint.
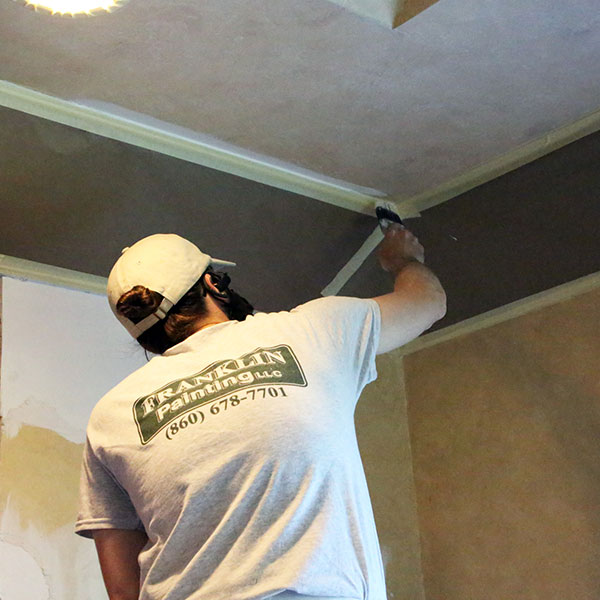
Flashes
It’s good to know how to paint ceilings properly so that you can avoid flashing. This common problem that occurs with DIY ceiling paint jobs involves areas where the light is reflected differently in some parts of the ceiling, causing an unmatched look. The two potential causes of the shimmery flashing effect follow:
- A drywall patch on the ceiling wasn’t textured to match the rest of the surface or
- Quality primer wasn’t used first on drywall that was freshly applied or textured.
Rolling Paint over the Popcorn and Sparkle Effect
If the popcorn and sparkle effect is on the ceiling, it’s important to understand that the popcorn painting effect is not waterproof. If you don’t paint as recommended, the popcorn will get too moist and begin peeling. The best approach is to use a 3/4-inch paint roller and roll only in one direction. Apply only one coat at a time. Wait until the ceiling has dried completely before adding each additional coat needed.
For professional interior painting on your ceiling that delivers guaranteed satisfaction, contact Franklin Painting. Our painting experts know how to paint ceilings plus a wide range of different paint applications and techniques with the best possible results. Our projects begin with a free 90-minute consultation. We are always happy to help with the selection of paint colors, and we offer unsurpassed workmanship.