Cabinet Painting Checklist
Painting cabinets is a much more challenging job than painting a bare wall or the ceiling. Cabinets have all kinds of twists and turns and corners and angles, and that can mean a lot of time spent with a paintbrush.
If you’re going to tackle this job yourself, there’s really no way to reduce the actual painting time. But you can follow all the pro steps to make the time you do spend pay off.
Franklin Painting of Farmington, CT, would like to share a cabinet painting checklist you can use to help with this sometimes-tedious job.
 Step 1: Gather Your Materials
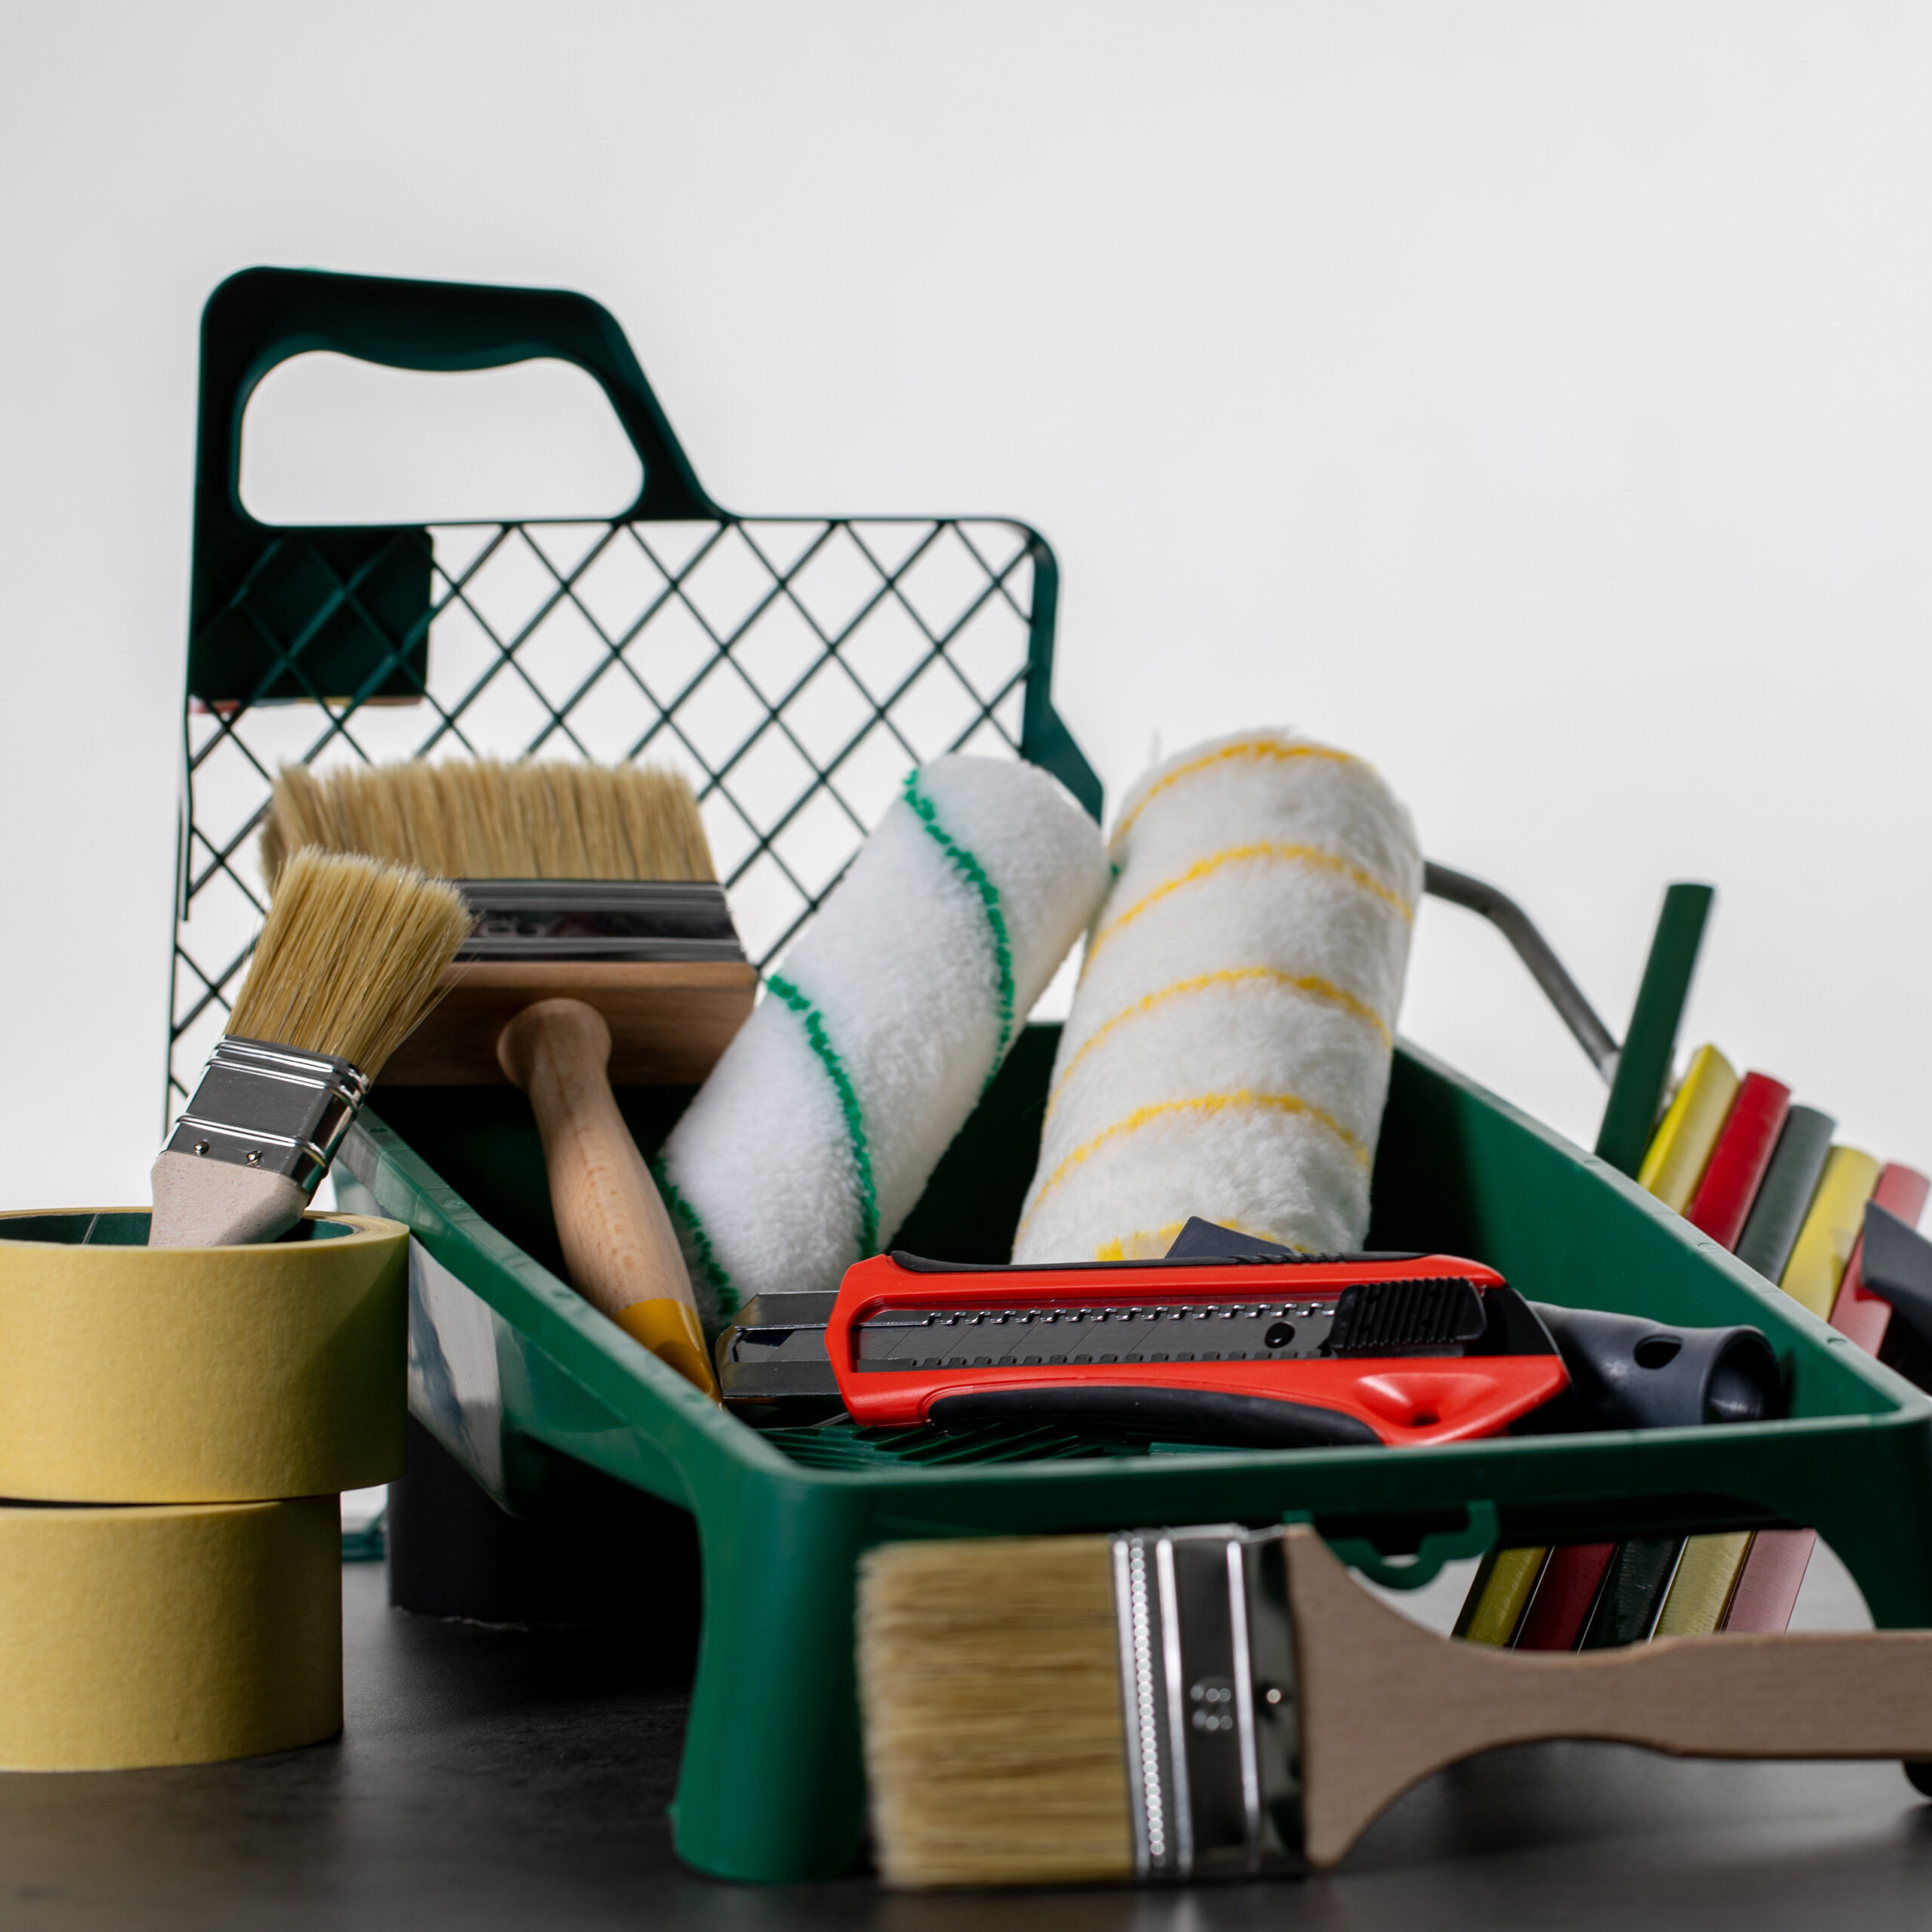
You’ll need:
- Quality cabinet paint and primer
- Quality paintbrushes of varying sizes
- A putty knife and putty
- Screwdrivers
- Painter’s tape or masking tape
- Cleaning rags
- Sandpaper or a power sander
- Paint buckets
- Paint sprayer (optional)
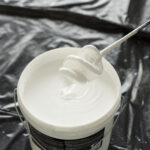
Choosing The Paint
Most people like a gloss or semi-gloss paint for their cabinetry. You can use an oil-based or latex paint. Oil-based is sturdier and more resistant to stains, but the fumes can be bothersome. There are many quality latex cabinet paints that would do a fine job.
You’ll also need a primer to seal the surfaces and keep the current paint color from seeping through the new paint.
Step 2: Remove The Doors, Drawers and hardware
Unscrew the cabinet doors and take out the drawers. Remove handles, brackets and other hardware, and keep the pieces handy if you’re going to reuse them.
Step 3: Repair Damage
Use putty to fill in holes on the cabinet surfaces. Most of the damage you’ll find will be on the outside of the doors and drawers. If screw holes are stripped, insert plastic spacers or fill in with wood cement through which you can reinstall the screws.
Step 4: Sand The Surfaces
This can be time-consuming, but it needs to be done. A power sander might work for some areas of the cabinet structure, doors and drawers. Hand-sanding will be necessary for most parts of interior cabinets.
Step 5: Clean The Surfaces
Use a good household cleaner to clean off the dust and any stains and grime that have accumulated on the cabinets. Wipe down the cleaned surfaces with a damp towel to remove residual cleaning liquid. Let the surfaces dry completely.
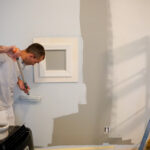
Step 6: Paint The Cabinets
Now it’s time to paint with brushes or a paint sprayer. Here are some important tips:
- Open windows and the door to keep the room well-ventilated – especially if you’re using an oil-based cabinet paint or primer.
- Add a coat of primer to all the surfaces. Let it dry before you start in with the finish paint.
- When painting, take your time. You’ll only slow down the project if you try to rush it.
- Use appropriately sized brushes. Big, wide brushes are no good for painting intricate, detailed areas.
- Clean up spills and splashes immediately.
- Let the finished paint dry according to the time recommended by the paint manufacturer.Reinstall the doors, drawers, and hardware.
 Help With Your Cabinet Painting
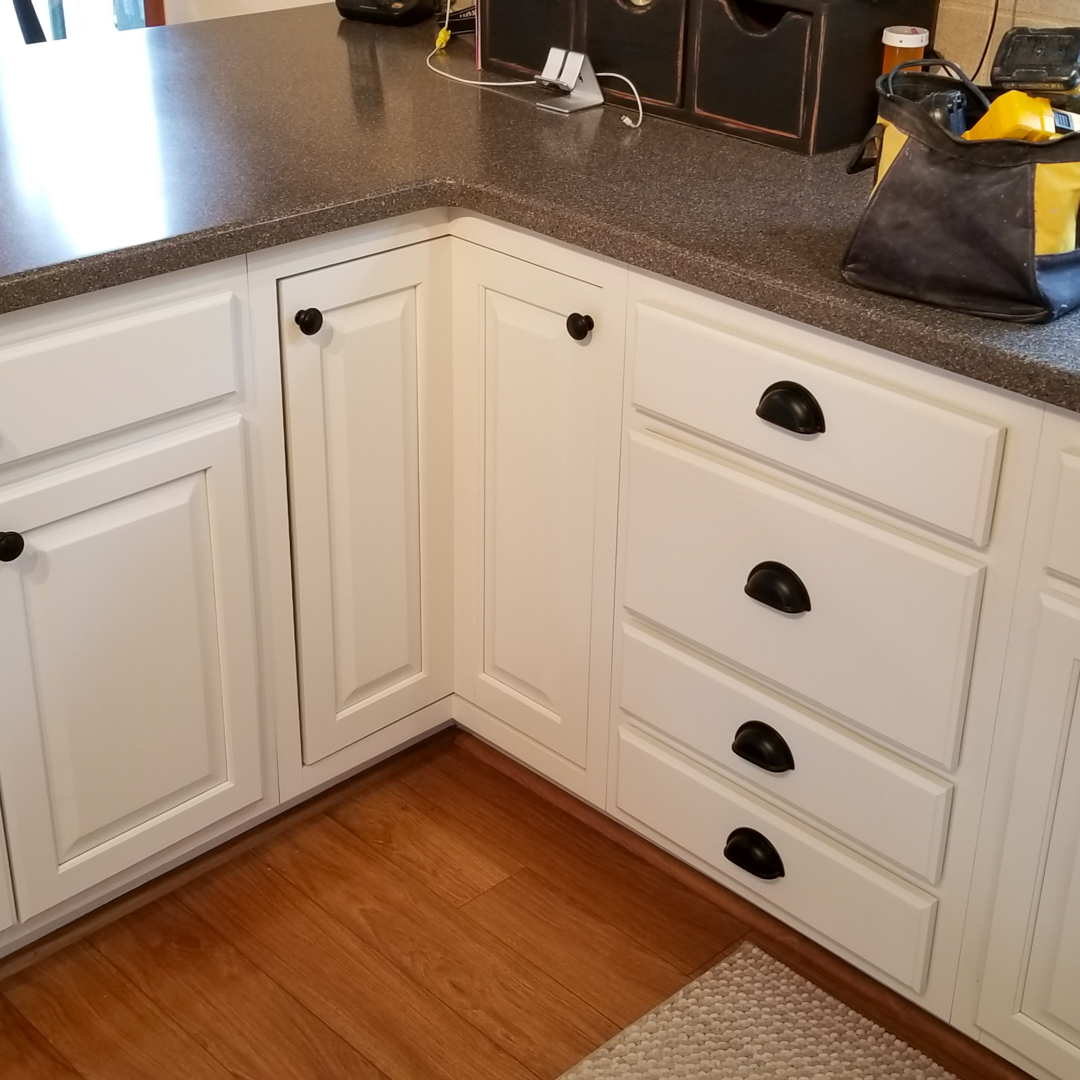
Painting or refinishing cabinets takes patience and precision — far more than painting a wall. From prep and sanding to priming and finishing, this step-by-step checklist helps you achieve a smooth, durable result.
Learn more or schedule an appointment by giving us a call. You can also reach out through our handy contact form.