How to Properly Use Masking Tape when Painting Walls
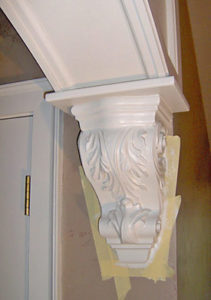 Clean lines are an integral part of well-painted walls, but messy work can be a source of frustration. Hire our professional painters, and you are assured a finish that will make you proud. To achieve a do-it-yourself paint project that you can be satisfied with, one challenging procedure you’ll need to get right is the use of masking tape to create straight, tidy lines where the trim and walls meet. There are four aspects of the task which make all the difference in the outcome, those being:
- Choosing the correct tape for the surface;
- Applying the masking tape in a straight line;
- Taping corners cleanly; and
- Removing the tape properly.
Choose the Correct Tape
Different painting tapes are specifically designed for different substrates, though some are good for multiple surfaces. Choose the correct tape, whether you are taping drywall, metals, brick, wallpaper, windows, or woodwork. If you use the least expensive, it may be more difficult to apply or remove. What you want is assurance that your trim, doorframes, and baseboards are thoroughly protected. Using quality tape designed for the surface helps to ensure proper adhesion and removal.
Another detail you may need to pay attention to when choosing the tape is how long it can be left on before removing the tape becomes a problem. If you are expecting the possibility that the taping will be on for a long period of time, make sure the tape you choose specifies that it’s okay to do that.
There are different widths of masking tape, but 1 ½-inch tape is usually ideal for any job.
Apply the Tape Correctly
If the masking tape looks wavy after being applied, there will be wavy lines in the paint job. Additionally, if the tape isn’t smoothed down adequately, paint can creep in under the tape. In short, laying down the masking tape correctly is not an easy task. Here are some tips:
- Rather than laying down lengthy strips, apply the tape in sections approximately 10 inches long. This avoids stretching the tape; when tape is stretched, it doesn’t stick properly or lay flat.
- As you lay the tape down, smooth it with your fingertips or a flexible putty knife to ensure secure adhesion to the surface being protected. The entire strip of tape doesn’t necessarily need to be pressed down, as long as the edge where paint is to be applied is secure.
Give Special Attention to Corners
You’ve probably seen rooms in which the corners of the trim have blotchy paint instead of clean lines. Corners need a little extra attention, to ensure a professional looking paint job. Don’t attempt to get long strips of tape to meet in the corner. The trick to clean lines in the corner is to use shorter pieces of tape; extra tape, as needed; and press the tape in with a flexible putty knife.
Properly Remove the Tape
Even if you’ve done an excellent job of laying down the masking tape in straight lines and making sure it adheres properly to the surface underneath, your efforts could be spoiled if you don’t remove the tape properly. Here are some tips:
- As mentioned above, don’t leave the masking tape on too long because it may become bonded to the surface underneath.
- Make sure the paint is completely dry before pulling off the tape.
- As you remove the
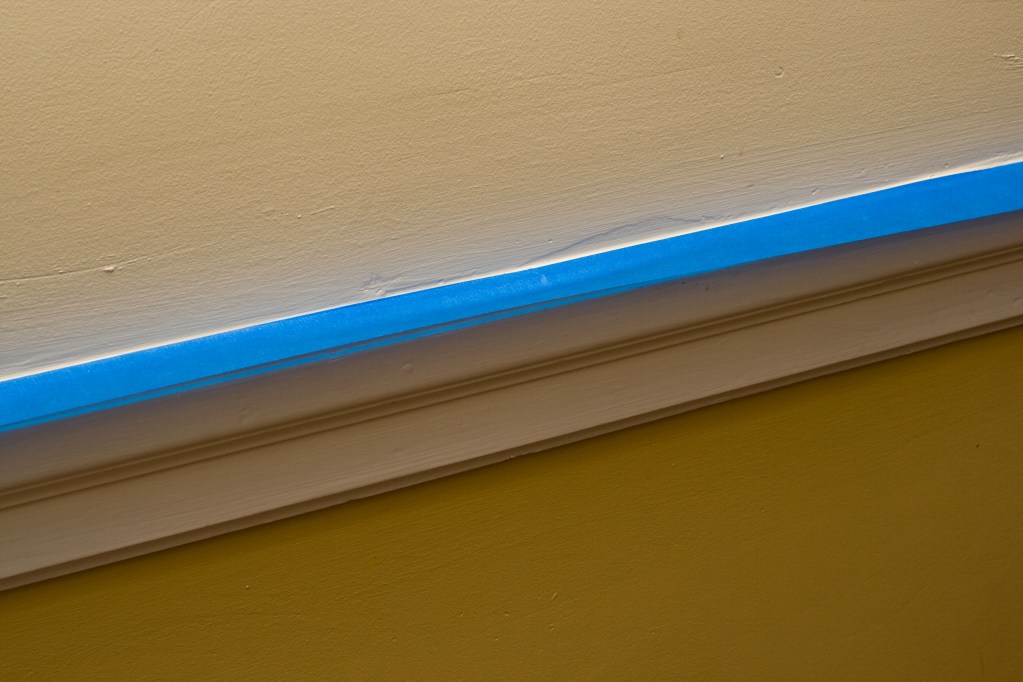 tape, position it at about a 45-degree angle to the surface below; this will help prevent the paint from peeling.
 - If peeling occurs, use a utility knife to cut the seal between the tape and the wall before removing the masking tape.
- For best results, remove painting tape after each coat dries and reapply the tape before the next coat of paint.
- If there is any residue left behind by the tape, remove it with a citrus-based cleanser, which many tape manufacturers recommend. Window cleaner or soap and water may also work as well.
Applying masking tape is one of the most painstaking tasks involved with painting, and our professionals are skilled at this and all other aspects of the job. Give us a call today if you want to enjoy a new and virtually hassle-free interior and/or exterior paint job.
Franklin Painting LLC – Call us Toll Free at 877-646-7774
or at our main office number 860-678-7701
2 Eastview Drive, Farmington, CT 06032


