1 – Boxing
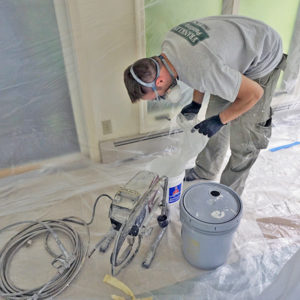
Even if you buy several cans of paint in the same shade on the same day, the color will frequently vary in an obvious way. Sometimes the difference is immediately noticeable when you open a fresh can of paint after a room is half painted. Professional painters have a strategy for eliminating that problem, and it’s called “boxing.” To make sure that color is consistent from the beginning to the end of a paint project, pros mix all cans of paint in a 5-gallon bucket, and that is what boxing is. To eliminate the need for pouring paint into a roller tray, some painters paint directly from the bucket, in spite of the fact that the weighty bucket is more difficult to move.
2 – Paint Extender
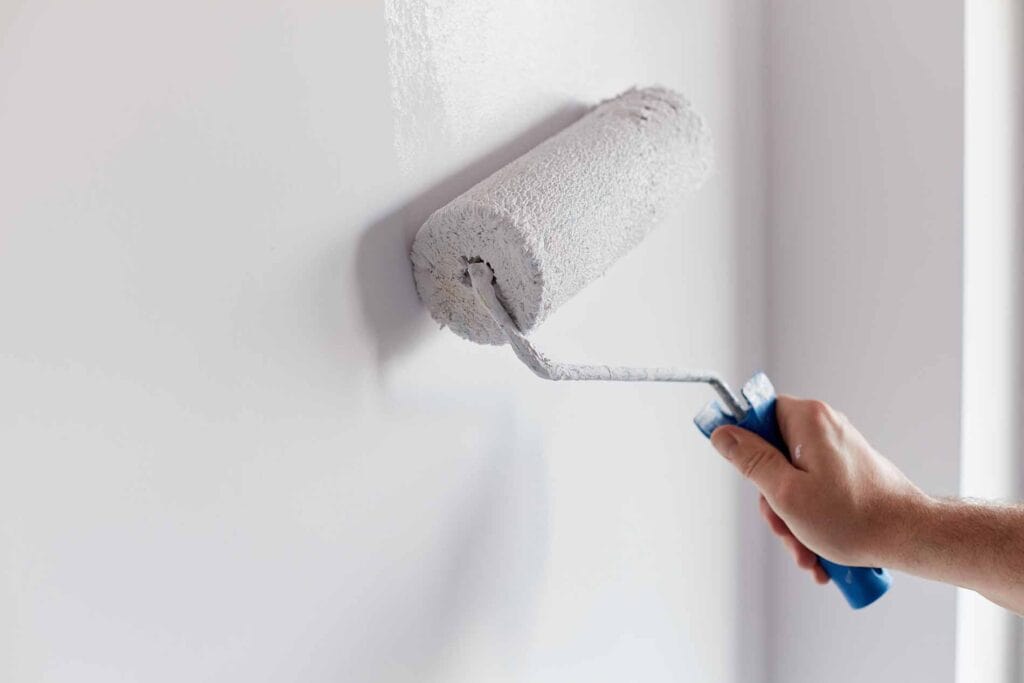
Have you ever been frustrated because of brush marks and lap marks? The pros have a solution for that, too. Mix a product called “paint extender” into the paint. Also called a paint conditioner, this added ingredient serves a couple of purposes. First, paint drying time is slowed down, which allows for more time to, for instance, finish painting the trim on a large window. Lap marks are created when you paint over dried paint. Secondly, paint extender, also called a leveler, levels out paint so that the appearance of brush strokes is either much less obvious or virtually eliminated.
3 – A Good Tape Seal

4 – Textured Ceiling Tip
It is virtually impossible to achieve a straight line at the top of the wall while preventing ceiling bumps from getting paint on them. The easy solution pros use is to scrape the texture off of the ceiling’s perimeter by running a screwdriver along the edges. A ridge is created in the ceiling with the screwdriver, and the bristles of the paint brush fall into the groove naturally. The missing texture on the ceiling is never missed.
If you decide to leave the work to professionals, contact our paint professionals today. They have the skills and experience to make the very most of a fresh coat of paint.
Franklin Painting LLC – Call us Toll Free at 877-646-7774
or at our main office number 860-678-7701
160 Brickyard Road, Farmington, CT 06032
Exterior House Painting in CT towns like farmington, ct 06032 – avon, ct 06001 – simsbury, ct 06070 – west simsbury, ct 06092 – canton, ct 06019 – burlington, ct 06013 – bloomfield, ct 06002 – unionville, ct 06085 – weatogue, ct 06089 – suffield, ct 06078 – windsor, ct 06095 – granby, ct 06035 – collinsville, ct 06022 – west hartford, ct 06110 – 06117 – 06119 – 06127 – 06133 – 06137 / bristol, ct 06010 – new britain, ct – 06050 – 06051 – 06052 – 06053 / newington, ct 06111 – wethersfield, ct 06109 – cromwell, ct 06416 – rocky hill, ct 06067- berlin, ct 06037 – kensington, ct 06037 – portland, ct 06480 – middletown, ct 06547 – meriden, ct 06450 – middlefield, ct 06455 – east hampton, ct 06424 – chesire, ct 06410 – southington, ct 06489 – glastonbury, ct 06033 – south glastonbury, ct 06073- south windsor, ct 06074 – elllington, ct – east windsor, ct 06088 – hebron, ct 06248 – marlborough, ct 06447 – manchester, ct 06040 – 06042 – 06045 – bolton, ct 06043 – colchester, ct 06415 – tolland, ct 06084 and more!

Frank Campanelli, the esteemed founder of Franklin Painting LLC, has been leading the company since 1986. He takes immense pride in the stellar reputation his dedicated team has built by consistently delivering top-notch service to each customer.


